Today Sony finally launched its latest firmware update for the PlayStation 4: the eagerly anticipated 1.70. It’s a biggie alright, and riddled with a slew of perks and new features, one of which is the all-new footage editing app, Share Factory.
If you want a comprehensive 1.70 checklist then be sure to visit Stefan’s breakdown from earlier. Stick around, however, if you want a quick and easy guide to start sharing your latest PlayStation creations.
First off, you may be wondering where Share Factory is. It’s not automatically downloaded to the system as part of 1.70 so you’ll have to dip into the PlayStation Store and find it via the search function.

After installing the 942MB file, boot it up and get to work on a new project. We won’t talk you through the ins and outs of Share Factory here. What we will say, though, is that it’s remarkably simple and intuitive, the process made even easier if you happen to be a Premiere or Final Cut whizz.

All done? Great, now hit the Options button, render you project, and save it.

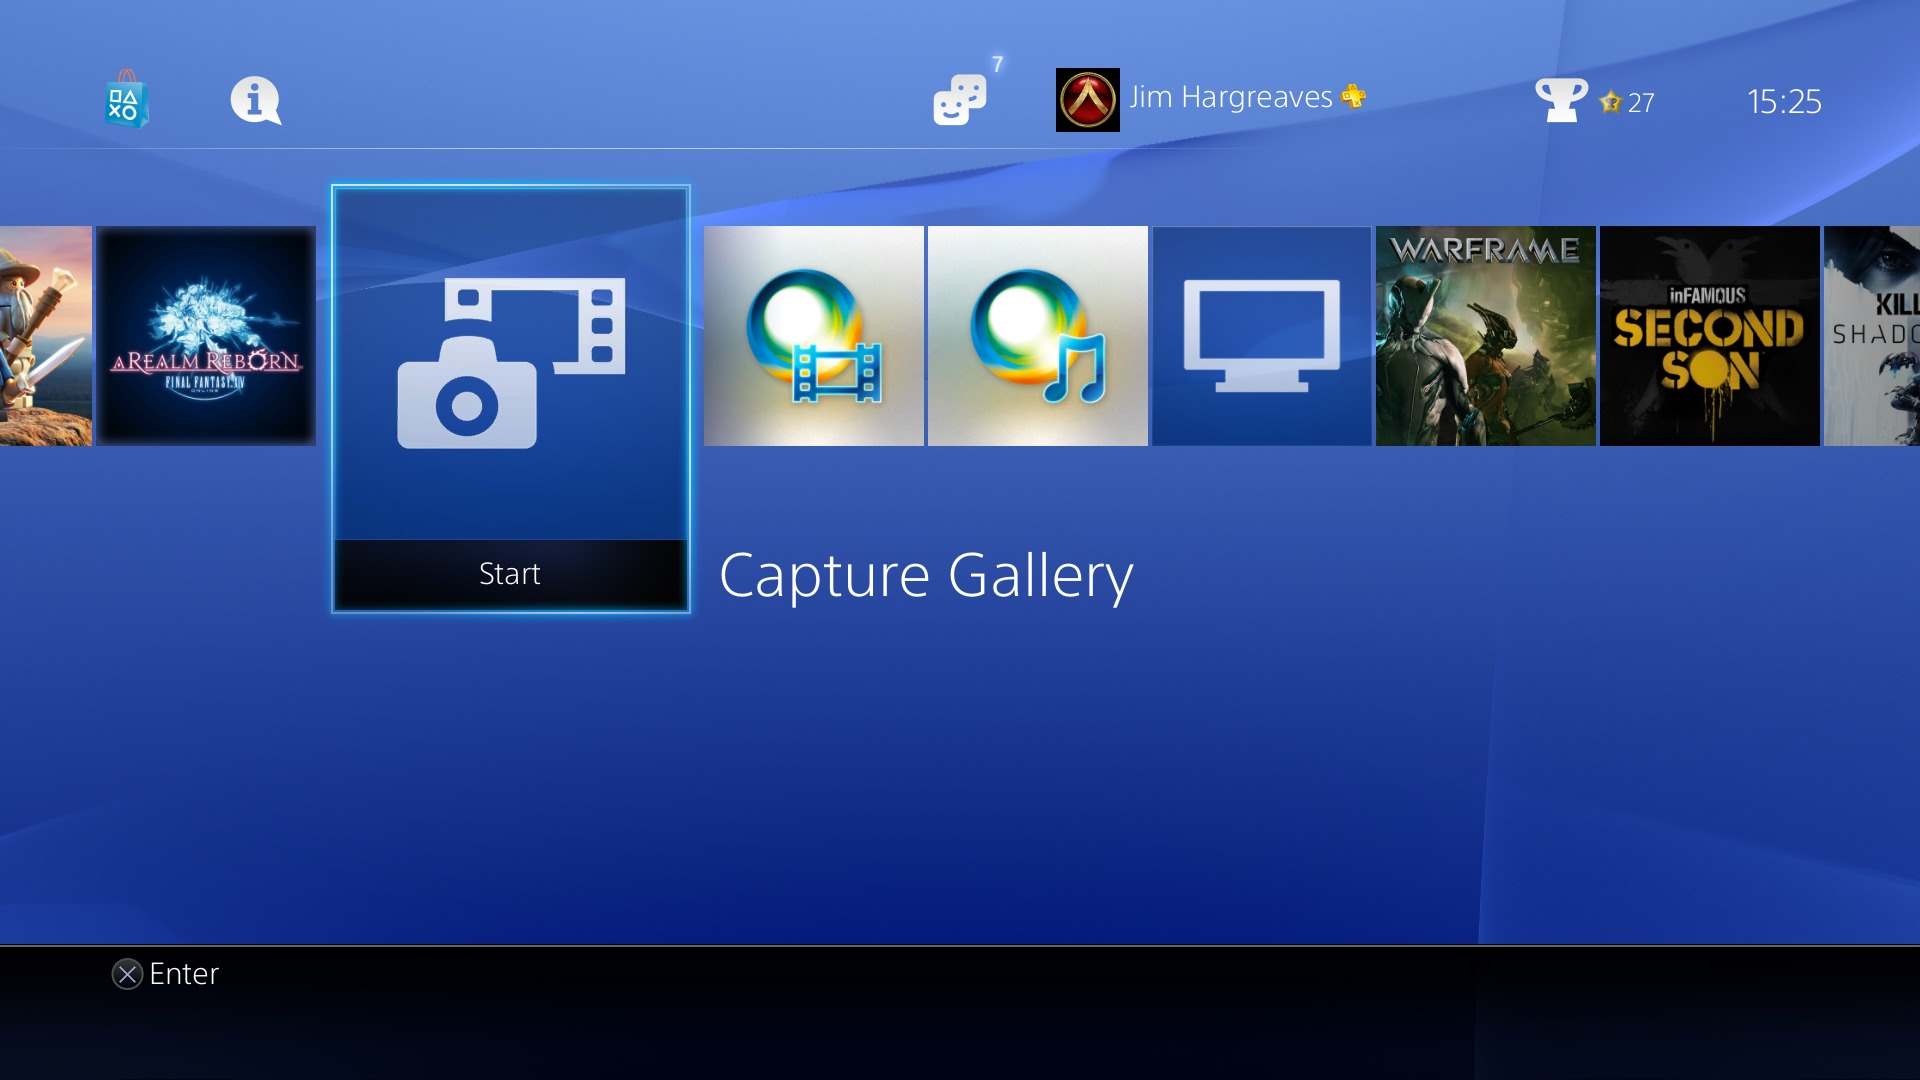
Next up, make sure you have a USB stick ready to go. Just for reference, Share Factory will only allow you to create fifteen-minute projects but this shouldn’t be a problem – you can weave together the exported videos using basic PC software. Before that, however, you will need to find the Capture Gallery via the menu bar. Note that USB sharing options are not available via the regular Share button menu.
The next step is simple. Find the video clips and screenshots you, hit the Options button, and viola. Note that 1.70 also lets users export 30 screenshots at once – a real time saver!

If there’s anything worth mentioning at present it’s perhaps the quality of exported video and screenshots. We’ll have some footage up later, but here are a couple of quick stats. A nine-minute video weighs in at just below 600MB with screenshots flitting between roughly 150-450KB in size. Note that the screens used in this guide have been purposefully cut down for smoother loading.
Update: and here’s the video. Understandably, being a tarted up LEGO game, it doesn’t show of the feature best capabilities. Still, it turned out much better than expected, especially compared the Facebook sharing option and low-end capture gear.
Already made an awesome montage? Done something particularly clever with Share Factory’s editing options? Go ahead and send us a link in the comments below or through Twitter.


TSBonyman
“Note that USB sharing options are not available via the regular Share button menu”
Does this mean i can still backup older video captures once i load them into SHAREfactory first?
TSBonyman
*by backup i mean export to USB.
tonycawley
If you’re not editing them I think you can just straight transfer them onto USB via the capture gallery.
TSBonyman
Cool, i’ll play around with it this eve.
Jim Hargreaves
From what I saw when using Share Factory, you can only use footage that has been recorded since 1.70. However, I reckon you can still export those clips to USB.
tonycawley
No, I could use videos from a few days ago so I don’t think this is the case.
tonycawley
I had a little fiddle around with share factor. You can’tadd screens into your videos can yo? It’s only for putting videos togethe, right
Jim Hargreaves
I haven’t messed around with the effects, but think there might be an option to insert your own images. Will have a look later.
Broonba
Cool, I’ll have a bash at ShareFactory over the weekend.