

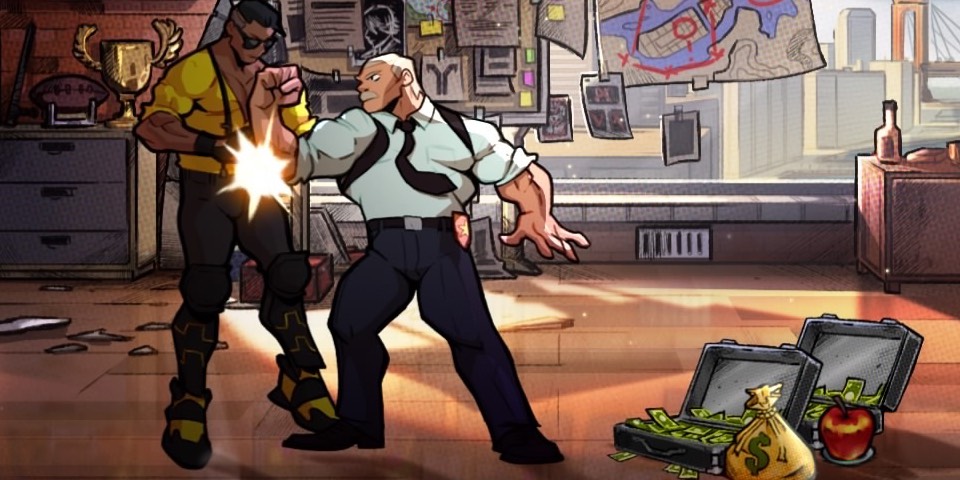
After 25 years a new Streets of Rage game has arrived. Through the glossy new graphics and new characters, Streets of Rage 4 maintains the spirit of the original trilogy, and that includes some pretty tough boss fights.
After playing through the game quite a few times already and facing off against the bosses within, I’ve put together a quick guide about each boss, and what to expect when you face off against them.
Stage 1 – The Streets
Mid-boss – Koobo
Koobo is the first mini boss that you will face in and he is pretty simple to take down. Armed with a pipe, Koobo only has a few primary attacks, including hitting you with pipe, leaping up and then smashing into the ground, and a telekinesis ability that sends all the weapons on screen your way.
Get in close to knock the pipe from Koobo’s hand which removes one of his attacks early. He will summon another pipe soon after, but you can just knock it from him again.
His others attacks are easily telegraphed. When Koobo is about to leap, he’ll get in a stance legs wide and flash white. You can damage him during this, but you cannot interrupt the attack. When he leaps, you’ll see his shadow on the ground of where he will land, so move out of the way to avoid damage. The telekinesis attack is telegraphed when Koobo starts flashing red. At this point the weapons on screen will rise and head for your position. Try and dodge them before closing the gap with Koobo.
The best tactic to beat Koobo is to get in close and keep attacking. When he leaps, jump back, but then get back in close as soon as he lands. Koobo, on merit of being the first mini boss, is quite weak so it should not take long to beat him.

Boss – Diva
Diva can be a bit tough. She is armed with an electrified snake and has attacks that can get you from range. These include using the snake to create an electric field on the ground that will damage your character and throw them back. The other is using the snake almost like a whip to hit and strike you with electricity. Thankfully Diva’s attacks are telegraphed.
When she begins flashing white and raises the snake she will create the electric field. The best thing to do at this point is to back away as far as you can until the electricity subsides. Her snake whip is telegraphed when she steps back and stands one one leg at which point the snake will lash out. Again, if you can, back out of range and then go in for close combat.
Partway through the fight the environment will go purple and this signifies Diva getting stronger attacks. The electric field will be much bigger so back up to the edge of the screen, furthest away from Diva when she hits with it. In this period other enemies will appear so dispatch them as quickly as possible otherwise they will be an unnecessary distraction. Once they’re gone just focus on getting close to Diva and taking her down.
Stage 2 – Police Precinct
Mid-boss – Murphy
Murphy will be the first shielded enemy that you come across. Armed with a baton and riot shield, he will not take damage until the shield is down. It appears simple enough to take him out, but the shield can take a bit of time to destroy. It will become redder as you get close to destroying it, but you still need to watch out for Murphy’s baton attack, so keep an eye out for when he raises his baton arm, and move back so his swing misses. If it connects you will be thrown back, and the shield will quickly regenerate.
Once the shield is destroyed Murphy is easy to take down as he will drop his baton. However, leave him for too long and he will get a new shield. The first Murphy is tough, but after this fight he becomes a regular enemy that will appear in groups in this level and others.
Boss – Commissioner
Don’t let old man Commissioner throw you off. He is one of the tougher bosses in the entire game with speed and strength on his side. One of his main attacks is to back away towards one of the sides of the room. When he does this and flashes white, move out of his direct path or he will fly towards you, grab and throw you.
If he is flashing white without first backing up, that means he is going to throw some mean downward hooks. Back away and let him finish his combo before going close to fight him again. Meanwhile, if he flashes red that means he is going to come and grab you, but you can interrupt.
Throughout the fight, other officers will come to the Commissioner’s aid so take them out quickly too while watching out for his telltale signs. When the room flashes purple it means the Commissioner’s attacks are powering up, meaning he’ll get two passes to try and grab you. Try to avoid them while fighting off the other enemies. Once he has stopped his attack, go in and lands hits on the Commissioner. Keep repeating the dodge and attack tactic until he falls.
Stage 3 – Cargo Ship
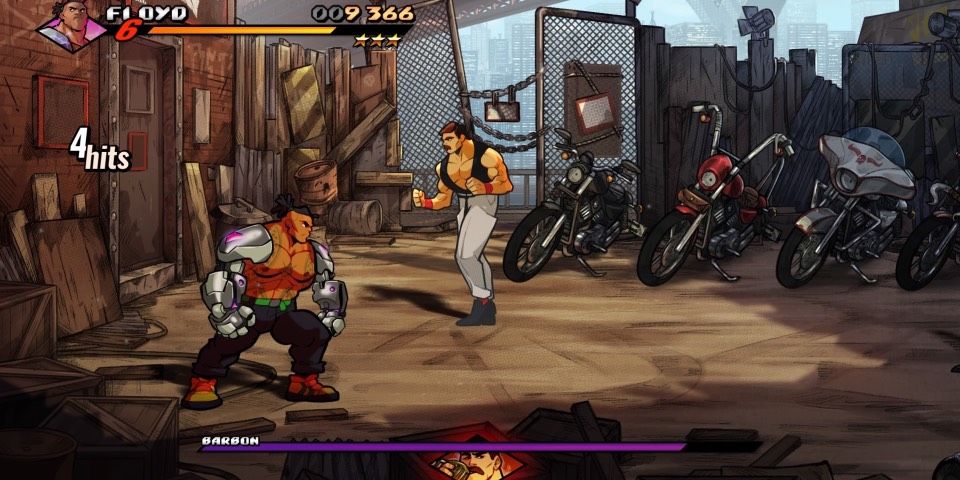
Mid-boss – Big Ben
Big Ben is a bit like Murphy in that he is an enemy that will become regular fodder after you defeat him here.
His first main attack is breathing fire while he walks – this is easy to dodge as he goes diagonally across the screen – after which you can get in close and damage him. To escape, he will then become a ball and roll away, so be careful not to let him hit you like that.
He will laugh after this, so you can get in close again and deal damage, but other enemies will now enter the fight. If you want to take them out quick hit the barrel with the fire sign as it will explode and take them out. After that Big Ben is easy to take down.

Boss – Nora
The Captain of this Cargo Ship is a dominatrix named Nora. She’s armed with a whip, but she isn’t who you really need to worry about. Nora’s whip can make other enemies stronger, so you’ll want to clear the room as quickly as possible. If you damage them, Nora will attempt to whip them again which regenerates their health, but you can interrupt her when her arm is raised, stopping her from healing them.
She will hit you with her whip as well, but Nora is probably the easiest boss in the game and if you can take her down quickly the other enemies will collapse as well.
Stage 4 – Old Pier
Estel – Boss
There’s no mid-level boss in the Old Pier. After fighting through police and gang members alike you will come face to face with police officer Estel, who’s a tough customer.

This is a straight up brawl from the start. You may get her in a corner, but she does a jump kick that will knock you back and let her get out of the situation.
Pretty early on in the fight Estel will request back up which comes in the form of a police cruiser driving in and then firing in fire rockets from off screen. Yup, Estel has ripped Axel’s special attack from Streets of Rage 1 for her own use! These rockets will keep firing in and form a ring of fire when they explode. You need to avoid those flames. Her second backup request will see additional officers come in to fight, but they’re easy enough to take down. Then just keep attacking Estel while avoiding the rockets, but beware you will take damage due to her speed.
Once her health is low, she’ll make another backup request. This increases the speed and number of rockets that come flying into the fight, so try to avoid them and then get close to Estel and lay down the law your way. This is another tough fight, so be prepared for a challenge!
Stage 5 – Underground
Mid-boss – Koobo and Big Ben
Koobo returns for a rematch with the same tactics as before – justget in close, avoid his leap attack and watch out for his telekinesis weapon throw – but he’ll be joined by Big Ben and his speed walking fire breath. In this case, he will walk diagonally and in straight lines. It is up to you which of the two you will take out first but they do not have any new attacks from previous encounters.
Boss – Barbon
Barbon is another brawler, but he likes to kick. When he flashes white, watch out and dodge his two spin-kicks.
You’ll also have to watch out for the bikes. Destroying them will net you rewards like health and points but for every bike destroyed an enemy will appear. If you want to make the fight easier try and keep the bike destruction to a minimum, but you can can also destroy and fight for a higher level score.
When Barbon’s health gets halfway,the screen will flash purple and he will up his spin kick attack from two kicks to four. Again, dodge them until he stops and then attack. As long as you avoid his kicks, Barbon is pretty easy to take down.
Stage 6 – Chinatown
Mid-boss – Goro & Pheasant
Don’t worry, this is not Goro from Mortal Kombat, but you could mistake them from how fast his hands move. This black belt has a few attacks up his sleeves. When he flashes and gets into a stance, side move away because he is going to do a dash punch which does quite a bit of damage. Goro can move quickly between stances, so the best tactic is to get close after his attack and hit him. You can grab him and throw him as well if you want a bit of distance, but Goro can break out of grabs quite easily.
After you defeat Goro, you will fight your way through a dojo filled with wave after wave of weapon wielding enemies, eventually coming up against Pheasant in the third room. Luckily, you’ve already faced off against Phesant’s weaker counterparts, like Raven and Condor.
You need to watch out for Pheasants fire-based flying knee which allows him to propel himself from one side of the screen to the other. Just like his weaker counterparts, Pheasant will block, so either power up a melee attack or use a special to break his guard. You and Pheasant are not alone in this fight with other enemies helping him. It doesn’t matter which order you defeat them in because the weaker enemies will remain with Phesant defeated.
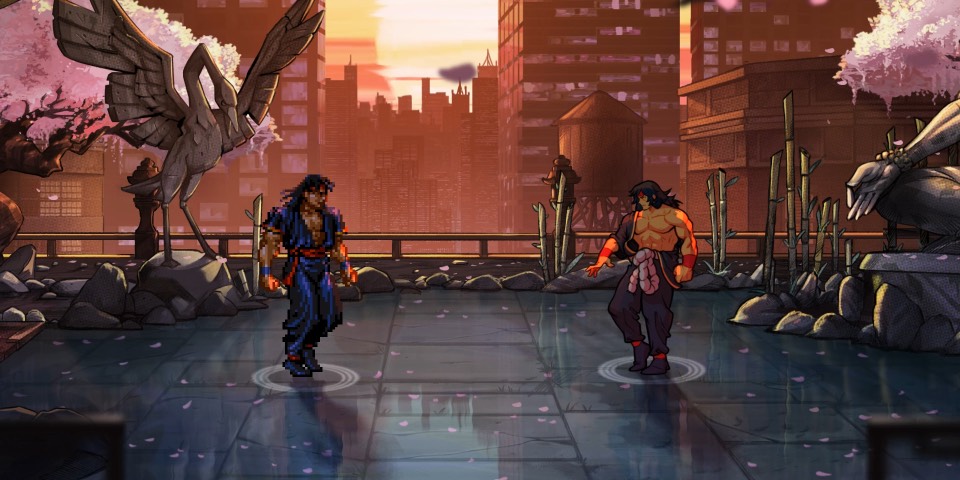
Boss – Shiva
A familiar face in the franchise, Shiva first appeared in Streets of Rage 2. His main attack when closing the distance is a flying hook kick that you’ll want to avoid. Get close afterwards to fight, but prepare to take a few hits if you’re not careful. Shiva is a masterful dodger and will dash away from being trapped, widening the gap between you and him.
When around a fifth of Shiva’s health is gone, he will send out an astral projection of himself that will fight you if it gets close. You can dodge and ignore it, focussing your attacks on the real Shiva. After you’ve drained over half his health, Shive will send out two astral projections, while also getting more aggressive with his kicks. Step back if you can, but if you can’t, just keep attacking and the fight should be over quickly.
Stage 7 – Skytrain
Boss – Estel & Commissioner
She’s back! Estel is not going down without a fight and this time she has come prepared. Along with her familiar fight style from before, Estel is now armed with grenades which she throws around a lot. Turn them back against her, picking them up or catching them in mid-air to throw back. Not all of them will hit but they give you a great advantage. Believe me, you’re going to need it!
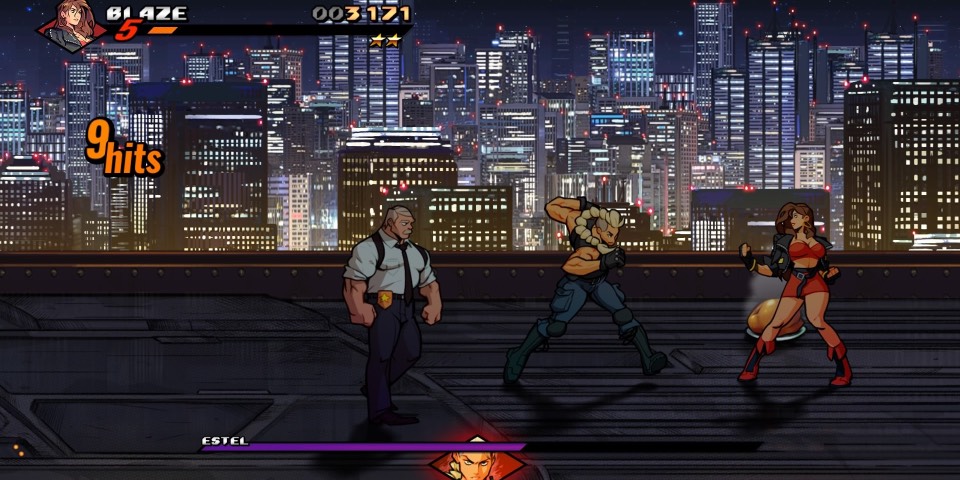
As you get her health down Estel will call in back up: the Commissioner! Now you need to watch out for his dash and grab attack, Estel’s grenades, and both attempting to pummel you with their fists. The Commissioner is the only backup Estel requests this time, so focus on taking him out to make this a one-on-one against Estel again.
Stage 8 – Art Gallery
Boss – Beyo & Riha
Beyo and Riha seem to be the sisters of the first main boss you encountered, Diva. Their elemental and snake attacks are similar to Diva’s, except Beyo will create toxic puddles that will do damage over the time, whereas Riha will create circles of fire that will throw your character back. Riha’s snake also becomes a flamethrower so move out of her way when she goes into the one leg stance, while Beyo’s snake will grab you and drag you in so Beyo can attack you.
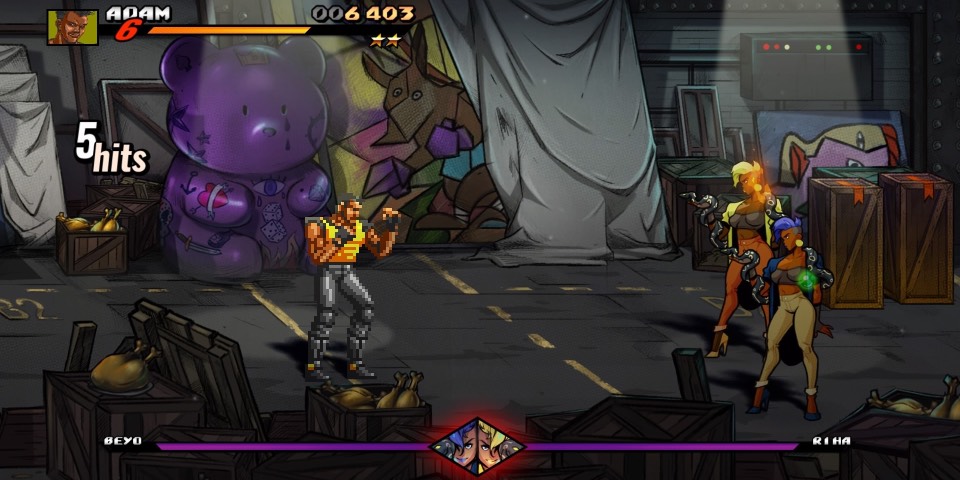
Of the two, Beyo is probably the easier to take out considering you can survive quite a bit of damage from her toxic puddles so take her out first and then focus on Riha. Beware that both will power up at the same time if one of them falls low on health.
At this point, Beyo will create larger toxic puddles while Riha will make larger flame pools, cutting down on space in the arena. Once Beyo is dealt with take a bit of time with Riha. Keep an eye out for her flamethrower attack. When she does it, get behind her and attack, keeping watch for when she raises her arm to dodge the pool of fire she’s about to create.
Stage 9 – Y Tower
Boss – Max
Another familiar face from Streets of Rage 2 returns, but it’s former good guy Max. Sure, he’s being controlled, but that doesn’t matter. What matters is that Max is probably the hardest boss fight in Streets of Rage 4.

He has power on his side and can deal a lot of damage quickly. When he leans forward it means Max is going for a shoulder charge. Dodge if you can, because there is no way to counter. When he bunches his fists and nods, stay away from his grab attempt, which is very difficult to break. And when Max holds his hands together and leans his pose, he is getting ready to do a spinning hammer fist attack.
Pick your times to attack, and when half of Max’s health is gone the screen will flash purple and his attacks become more ferocious. The number of shoulder charges and hammer fist spins he does at once will go up, so you need to be fast at moving out of the way. The secret with Max is patience. When he has finished an attack go in and get a couple of hits in. As soon as he gets into a ready pose for one of his attacks move away from and dodge everything you can. It is a slower fight but if you try to take Max out quick you will more than likely lose.
Stage 10 – The Concert
Mid-boss – Koobo
Koobo just does not know when to quit. This fight will be similar to the last two times you have face off against Koobo except there are a lot more other enemies around that need be taken care of, as well as more weapons on the field that Koobo can send your way via telekinesis.
To help, hit the wrecking ball in the middle of the screen so it swings and takes people out. Be careful as the wrecking ball does not discriminate between friend or foe so will hurt everyone in its path.

Boss – DJ K Washi
DJ K Washi is an enemy you need to get close to. He is shielded, so you need to break that before you damage his health and It does regenerate after a few hits are put in. The DJ’s main attacks include light discs that ping around the floor that you need to jump over. Those get sent out when he glows green. He will also fire blue energy blasts in a straight line, so move out of his path when he glows blue. And when he flashes red, he will fire a larger blast.
After you have done some damage some enemies will appear so take them out to focus on the DJ. When at the edge of the screen there’s still some space to get behind him and deal damage.
Halfway through the fight K Washi will gain another ground disc attack. When he flashes yellow, he will release a slower moving yellow disc that will follow you, but it’s easily avoided by moving right to the edge of the screen. The DJ is a pretty easy fight, especially if you get behind him.
Stage 11 – Airplane
Boss – Mr Y
Mr Y is one of the prime antagonists of Streets of Rage 4 and you finally get to have a showdown with him. Mr Y comes packing heat, with his primary weapon being an Uzi. He will walk around and fire his gun at you. When he laughs and backs up, he will do a sweep with is gun, with the best way of avoiding this by being on a different plane of the room.

After half of his health is gone, Mr Y will start throwing grenades, and bring out a rocket launcher and alternate between it and the Uzi. The grenades are set to explode quickly, so try to follow Mr Y’s path and dodge the rockets when he turns to fire. Stay as close as possible to Mr Y through the entire fight and just keep hitting him. He’ll go down fairly quickly.
Stage 12 – Y Island
Mid-boss – Baabo
Koobo’s meaner sibling Baabo has similar attacks, but instead of one giant leaping Baabo does three smaller jumps. He also has the telekinesis ability which lets him throw the heavy duty weapons about at you. The tactics to fight Baabo are similar to Koobo: get in close and deal damage. When he starts jumping around the screen, try and dodge as best you can. It’s a simple fight once you know what to look out for.

Boss fight – Ms Y and Mr Y
This final boss fight is split in two parts. First you will face the sword wielding Ms Y alone in a throne room. You can get in close early and do damage, but move when she starts flashing or she will hit you with a flourish of sword strokes. When down to half health, she will be able to dash across the screen sword first. It’s telegraphed by her moving to a corner, holding up her sword with a blue glint, and then charging toward you.
She’ll keep doing this, so you need to attack her as she finishes the dash. When she readies up for the next, move out of her way, get in close again. Rinse and repeat until her health is depleted. Once that is done she will run from the room and you will follow leading to the final part of the fight.
Ms Y will now team up with Mr Y, both using their known attacks, which include grenades from Mr Y and the sword dash from Ms Y. Move fast to dodge the attacks and attack whoever is nearest when you can. Staying still will just put you at the mercy of Mr Y’s bullets and rockets!
When some of his life has depleted, Mr Y will jump off the edge and quickly return with… a giant mech!
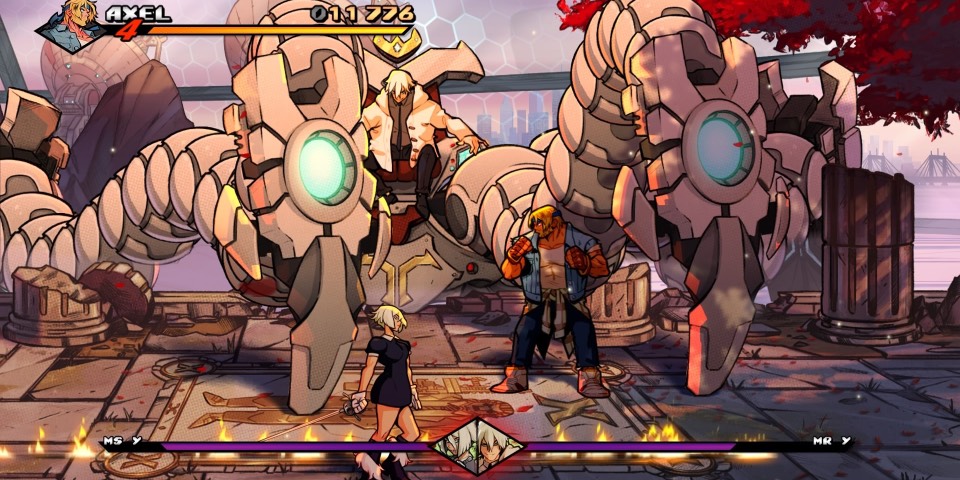
While the mech looks intimidating, it is pretty easy to avoid and take down. It will use its claw arms to swipe across the stage and knock you over, smashing into the ground to hit you, but you can just move as close to the pillars at the top of the screen as you can, where most of the attacks will be unable to reach you.
During this we’d suggest trying to defeat Ms Y first – she’ll just hop into the mech if Mr Y falls, so you might as well. Let her come to you near the pillars and fight her there so you are not in danger from the mech. After you take her out, just keep hitting the mech’s legs until its health is gone, just be aware that now the mech’s legs can now reach the pillar area removing that safe zone. When a leg gets ready to strike move to the other leg and attack that. If the legs are doing a diagonal swipe, get in the middle towards the pillars to avoid them.
Phew! All of those bosses beat, you’ve finished Streets of Rage 4! Now… how about a Boss Rush?


